Before you begin. This procedure is general reference information, not professional advice. Equipment varies by manufacturer, model, and year. Always follow the documentation supplied with your equipment — where it differs from this page, follow the manufacturer. Verify that you have the tools, the working conditions, and the ability to do this task safely. If anything is unclear, if the equipment is damaged, or if the task exceeds your experience, stop and use a qualified professional. You are responsible for your own safety and for the outcome. This site accepts no liability for any loss, damage, or injury arising from the use of this information.
Specifications marked unverified could not be traced to a manufacturer source. Do not rely on them — obtain the value from your equipment documentation.
Summary
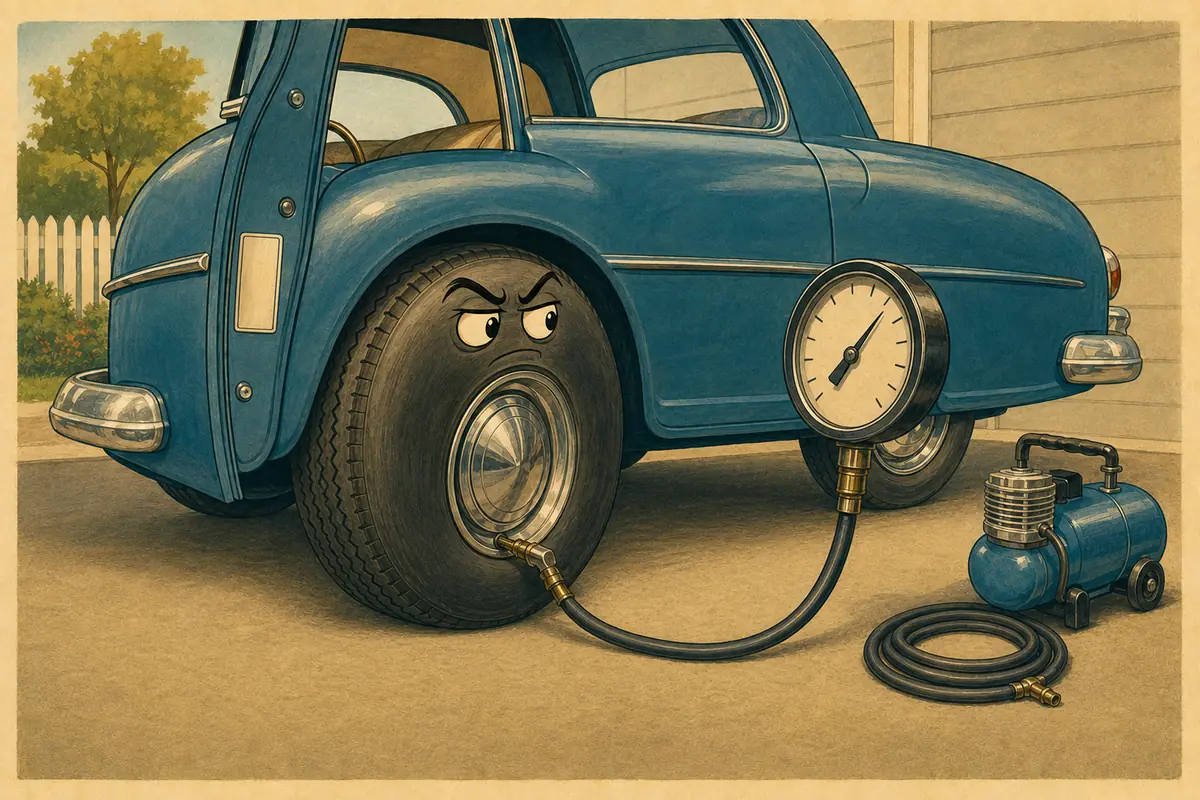
Tire pressure is the cheapest safety check on a car and the one people most often get wrong, because the big number moulded into the side of the tire is not the number you are supposed to use. NHTSA puts it plainly: the correct pressure for your tire is what the vehicle manufacturer has listed, not what is listed on the tire itself. That figure lives on the Tire and Loading Information placard, usually on the driver's door edge or the pillar behind it, and federal regulation is what puts it there. This page covers the whole check — finding the placard, measuring while the tires are cold, adding or letting out air, and doing the spare, which almost nobody does.
What this page will not print is a psi number for your car, and that is the point rather than a gap. Every vehicle has its own placard figure, and a page that guessed one would be guessing with the only number that matters. Three things here the gauge alone will not tell you. NHTSA asks for a check at least once a month with the tires cold, and Mazda's owner's manual gives the same three-hour parked rule for a cold reading. The dashboard warning light is not an early warning either: FMVSS No. 138 lets it stay dark until a tire is 25 percent below the placard figure, which is a long way down.
Necessary equipment
| Item | Note |
|---|---|
| Tire pressure gauge | A dial gauge, a digital gauge or a pencil gauge is satisfactory. |
| Air supply | An air hose at a service station or a small compressor is satisfactory. |
| Flashlight optional | The light at the door pillar is often low. |
| Pen and paper optional | Record the placard values before you go to the air supply. |
| Valve caps material | A valve cap prevents the entry of dirt. |
Find the vehicle placard
Estimated 3 min to 4 min
No tier-1 source was found for this value. Take it from the documentation supplied with your equipment.
No tier-1 source was found for this value. Take it from the documentation supplied with your equipment.
MOVE THE VEHICLE AWAY FROM TRAFFIC BEFORE YOU START THE CHECK.
Traffic can kill you.
- Stop the vehicle on a level surface away from traffic.<1mReport a problem with step 1, Find the vehicle placard
- Set the parking brake.<1mReport a problem with step 2, Find the vehicle placard
- Open the driver door.<1mReport a problem with step 3, Find the vehicle placard
- Find the vehicle placard on the pillar or on the edge of the driver door.<1mReport a problem with step 4, Find the vehicle placard
- The title on the placard is Tire and Loading Information.
- Some vehicles have the placard on the forward edge of the rear door.
- Read the recommended cold inflation pressure for the front tires.<1mReport a problem with step 5, Find the vehicle placard
- The placard gives the value in kPa and in psi.
- Read the recommended cold inflation pressure for the rear tires.<1mReport a problem with step 6, Find the vehicle placard
- The value for the rear tires is not the same as the value for the front tires on many vehicles.
- Read the recommended cold inflation pressure for the spare tire.<1mReport a problem with step 7, Find the vehicle placard
- A temporary spare tire usually has a much higher value than the road tires.
- Write the three values on paper.<1mReport a problem with step 8, Find the vehicle placard
Prepare a cold measurement
Estimated under a minute
Source: Recommended Tire Inflation Pressure - 2024 Mazda CX-5 Owner's Manual · tier 1 · accessed 2026-07-29
MEASURE THE TIRES BEFORE YOU DRIVE THE VEHICLE.
A tire that is warm from use gives a value above the true cold value. A measurement on a warm tire can leave the tire below the placard value.
- Do the measurement before you drive the vehicle.<1mReport a problem with step 1, Prepare a cold measurement
- NHTSA gives a period of at least three hours without use as the condition for a cold tire.
- Mazda gives the same period of at least three hours in its owner documentation.
- If you drove the vehicle, wait three hours before the measurement.<1mReport a problem with step 2, Prepare a cold measurement
- A short distance to an air supply also makes the tires warm.
Measure each tire
Estimated 3 min to 4 min
- Remove the valve cap from the first tire.<1mReport a problem with step 1, Measure each tire
- Put the valve cap in your pocket.<1mReport a problem with step 2, Measure each tire
- Push the gauge onto the valve until the sound of the air stops.<1mReport a problem with step 3, Measure each tire
- A gauge that is not square to the valve gives a low value.
- Read the value on the gauge.<1mReport a problem with step 4, Measure each tire
- Compare the value on the gauge with the placard value for that axle.<1mReport a problem with step 5, Measure each tire
- Install the valve cap.<1mReport a problem with step 6, Measure each tire
- Do the same steps for each of the other road tires.2mReport a problem with step 7, Measure each tire
Set each tire to the placard value
Estimated 3 min to 6 min
No tier-1 source was found for this value. Take it from the documentation supplied with your equipment.
SET EACH TIRE TO THE VALUE ON THE VEHICLE PLACARD.
Do not use the maximum value from the sidewall. A tire with low pressure can fail and injure you.
- If the gauge shows a value below the placard value, add more air.2mReport a problem with step 1, Set each tire to the placard value
- Add the air in short periods.
- Do a new measurement after each period.
- Stop the air supply when the gauge shows the placard value.<1mReport a problem with step 2, Set each tire to the placard value
KEEP YOUR FACE AWAY FROM THE VALVE WHEN YOU RELEASE AIR.
The valve releases air and dirt quickly.
- If the value on the gauge is above the placard value, push the pin in the valve.<1mReport a problem with step 3, Set each tire to the placard value
- The pin in the valve releases air.
- Release the air in short periods.
- Do a new measurement after each period.
- Install a valve cap on each valve.<1mReport a problem with step 4, Set each tire to the placard value
Do a check of the spare tire
Estimated 2 min to 5 min
No tier-1 source was found for this value. Take it from the documentation supplied with your equipment.
- Find the spare tire.1mReport a problem with step 1, Do a check of the spare tire
- The spare tire is usually below the load floor or below the rear of the vehicle.
- Do the same measurement on the spare tire.1mReport a problem with step 2, Do a check of the spare tire
- NHTSA asks for a check of the spare tire with the other tires.
Record the result
Estimated 1 min
Source: Tire Safety Ratings and Awareness (TireWise) · tier 1 · accessed 2026-07-29
Source: 49 CFR 571.138 - FMVSS No. 138, Tire pressure monitoring systems · tier 1 · accessed 2026-07-29
Source: 49 CFR 571.138 - FMVSS No. 138, Tire pressure monitoring systems · tier 1 · accessed 2026-07-29
- Record the date and the value for each tire.<1mReport a problem with step 1, Record the result
- Do this check one time each month.<1mReport a problem with step 2, Record the result
- NHTSA gives one month as the maximum period between checks.
DO NOT USE THE LOW TIRE PRESSURE WARNING TELLTALE IN PLACE OF THIS CHECK.
FMVSS No. 138 permits the telltale to stay dark until a tire is 25 percent below the placard value.
- If the low tire pressure warning telltale illuminates, do this check again immediately.<1mReport a problem with step 3, Record the result
- Mazda tells owners that the system is not a replacement for their own inspection of the tires.
Terminology
This page uses one term for each item and holds it throughout, as ASD-STE100 requires. Equipment sellers and other guides use the names below for the same parts.
- vehicle placard
- Also called: Tire and Loading Information label, door jamb sticker, door sticker, tire placard, B-pillar sticker, the sticker inside the driver's door
- recommended cold inflation pressure
- Also called: correct tire pressure, recommended psi, proper tire pressure, how much air should I put in my tires, door sticker pressure, tyre pressure
- tire pressure gauge
- Also called: pressure gauge, air gauge, tyre gauge, pencil gauge, stick gauge
- tire pressure monitoring system
- Also called: TPMS, low tire pressure light, tire light, the horseshoe light, the exclamation mark light on the dash
- valve
- Also called: valve stem, tire valve, air valve, Schrader valve, the bit you put air in
- maximum inflation pressure
- Also called: max psi, max pressure, the psi written on the tire, the number on the tire wall
When to use a professional
Stop the check if you see a cut in the sidewall. Stop the check if you see a bulge in the sidewall. Stop the check if a tire holds no air. Speak to a tire specialist.
Do not drive the vehicle on a tire that is very low. Mazda tells owners that low pressure is the most common cause of a tire failure. Speak to a tire specialist about that tire first.
A telltale that flashes for one minute and then stays on shows a fault in the system. Speak to a vehicle repair shop about the system. Continue to measure each tire with a gauge until the repair is complete.
Common questions
How much air should I put in my tires?
Whatever the Tire and Loading Information placard on your own vehicle says, and nothing else. NHTSA states that the correct pressure for your tire is what the vehicle manufacturer has listed, not what is listed on the tire itself, and that the figure is on the label on the driver's side door edge or in your owner's manual. It is given in both kPa and psi. Front and rear are frequently different, and the spare is frequently different again, so read all three lines rather than the first one.
Why is the number on my tire different from the number on the door sticker?
They are answers to two different questions. The number moulded into the sidewall is the maximum pressure that tire is permitted to hold. The number on the placard is the pressure the people who built your car chose for it, taking the vehicle's weight and handling into account, and 49 CFR 571.110 is the regulation that requires the placard to carry it. Setting your tires to the sidewall maximum is not following the tire maker's advice — it is ignoring the car maker's.
What does a 'cold' tire actually mean?
Not cold to the touch — just not warmed by driving. NHTSA describes cold tires as meaning that the car has not been driven for at least three hours. Mazda's owner's manual gives the same three-hour parked rule for a cold reading, which is why this page treats it as settled rather than as one company's house style. Even the drive to the air pump warms the tires, so the honest sequence is to measure at home, write the numbers down, and correct the shortfall at the pump.
How often should I check my tire pressure?
NHTSA asks for a check of all tires, including the spare, at least once a month. Once a month is a maximum interval, not a target — tires lose pressure slowly all the time, and a cold snap will take more out of them in a week than a month of ordinary driving. Pick a date you will remember and keep it.
My TPMS light is off, so my tires must be fine — right?
No, and this is the single most useful thing on this page. FMVSS No. 138 only requires the low tire pressure telltale to come on once a tire is at or below 25 percent under the placard figure (or a floor value from a table in the standard, whichever is higher), and it allows up to 20 minutes for the light to appear after that. A tire can therefore be meaningfully under-inflated, for a long time, with a perfectly dark dashboard. Mazda says it directly in its own manual: the TPMS is not a substitute for your own periodic inspection of the tires, and it is the driver's responsibility to maintain correct pressure even when under-inflation has not reached the level that triggers the light.
Do I really have to check the spare?
Yes, and it is the one almost everybody skips. NHTSA's instruction covers all tires including your spare. A spare has usually been sitting untouched for years, and a temporary spare normally calls for a much higher pressure than the road tires — the placard will say. A flat spare is only discovered at the exact moment it was supposed to help.
What actually goes wrong if my tires are under-inflated?
Mazda's manual states that driving with under-inflated tires is dangerous and that under-inflation is the most common cause of failures in any kind of tire. NHTSA describes the same chain from the other end: poor tire maintenance, including not having enough air in your tires, can lead to a flat tire, a blowout, or the tread coming off the tire. None of that is a slow, obvious failure you get warned about.
Related procedures
- How to read a tire sidewall and find out how old your tires are
- What the tire pressure light on my dashboard means and what to do about it
- How to check if your spare tire is there, in good shape and has enough air
- How to read the tire and loading information placard and work out how much load you have left for passengers and cargo
- How to check the tire sealant and inflator kit your car carries instead of a spare tire
- How to check tire tread depth and know when you need new tires
- Read the treadwear, traction and temperature grades moulded on a tire and know what they do and do not compare
- How to check your engine oil and work out what oil your car takes
Sources
Every specification on this page is traced to one of these sources. Tier 1 is a manufacturer document, a published standard, or a government safety authority. See Standards for the full tiering rule.
- Tier 1Tire Safety Ratings and Awareness (TireWise)
- Tier 149 CFR 571.110 — FMVSS No. 110, Tire selection and rims
- Tier 149 CFR 571.138 - FMVSS No. 138, Tire pressure monitoring systems
- Tier 1Recommended Tire Inflation Pressure - 2024 Mazda CX-5 Owner's Manual
- Tier 1Tire Pressure Monitoring System (TPMS) - 2022 Mazda3 Owner's Manual
Revision history
Current version 1 · updated 2026-07-29 · next review due 2027-07-29
- v1 · 2026-07-29First draft. Every pressure value publishes as consult-the-vehicle-placard, per rule 1 and per NHTSA's own instruction. The monthly interval rests on NHTSA TireWise, quoted there as 'Check the pressure of all tires, including your spare, at least once a month when the tires are "cold," meaning that the car hasn't been driven for at least three hours.' The three-hour cold rule is attributed to Mazda's owner's manual, which states it independently, so it does not rest on one source. The 25 percent telltale threshold and the 20 minute delay come from 49 CFR 571.138 S4.2(a).
Corrections to this page are listed in the public corrections log. Reports that are credible and not yet verified are listed in the public errata register, and an open one renders above the step it concerns.
Comments and corrections
Found an error? A correction with a manufacturer source is applied and logged publicly. You can also write to corrections@fixchecklist.com.
Every step above carries its own report control, which tags the report with that step so a correction reaches the right place. For anything about the procedure as a whole — the order of the sections, a step that is missing, something that did not match your equipment — use this: report something about this whole procedure.